您的位置:上海毫米网络优化公司 > 网站优化分享 >
相关推荐recommended
- python——Django 框架
- 今日推荐库:@microsoftfetch-event-source
- Kafka 架构深入探索
- Go语言面试宝典:50道必会题目与精解
- Spring Security 之方法级的权限管控 @PreAutho
- Mybatis之批量更新数据
- 亮数据代理IP轻松解决爬虫数据采集痛点
- Vue3 + Django 前后端分离项目实现密码认证登录
- 【Nginx】Nginx启动显示80端口占用问题的解决方案
- 解锁AI大模型潜力,让文案创作飞跃升级
- 一篇讲明白 Hadoop 生态的三大部件
- 网络编程套接字(1)—网络编程基础
- 【SQL Server】超详细SQLServer日期转换、字符串、数学
- 【Rust】——项目实例:——命令行实例(一)
- Lua语法(四)——协程
- 牛客周赛 Round 39(A,B,C,D,E,F,G)
- 使用Navicat导出导出 MySQL 数据库表结构、表数据到Exce
- mysql的IN查询优化
- 「SpringBrick快速入门指南」:一款基于Spring Boot
- Python 操作 MySQL 的5种方式
- Spring Boot 框架
- 「PHP系列」PHP表单及表单验证详解
- 解决,“该设备或资源(Web 代理)未设置为接受端口“7890”上的连
- SQL之CASE WHEN用法详解
- 【Rust】——采用发布配置自定义构建
- 【MySQL】表列数和行大小限制详解
- 云计算的大数据处理:实时分析与批处理
- Java体育馆场地预约系统设计与实现(Idea+Springboot+
- JSqlParser的使用
- VUE3和SpringBoot实现ChatGPT页面打字效果SSE流式
【PostgreSQL】从零开始:(三)PgAdmin4下载与安装
作者:mmseoamin日期:2024-01-30
【PostgreSQL】从零开始:(三)PgAdmin4下载与安装
- pgAdmin简介
- liunx下部署通过yum部署pgAdmin4(6.21)
- 1.安装依赖包
- 2.永久停止防火墙
- 3.配置pgadmin4项目源
- 4.下载并安装pgAdmin4
- 5.执行初始化命令
- 6.访问我们的网站
- liunx下通过python方式安装pgAdmin4(8.0)
- 1.安装python3以及pip3(版本3.8及以上不能运行,建议安装3.6.15)
- 2.安装依赖包
- 3.永久关闭SELinux
- 4.永久停止防火墙
- 5. 创建使用的目录
- 6. 执行安装
- 7.修改配置文件
- 8.执行初始化
- 9.访问pgAdmin4
- Liunx下通过docker 部署pgAdmin4
- 1.下载镜像
- 2.启动镜像映射到5050端口
- 3.访问pgAdmin4
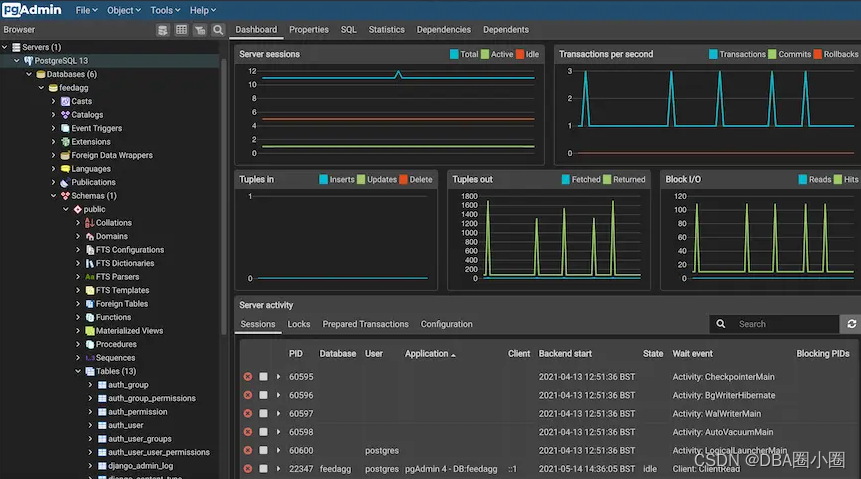
pgAdmin简介
pgAdmin 是 Postgres 的领先开源管理工具,pgAdmin 4 旨在满足新手和经验丰富的 Postgres 用户的需求,提供强大的图形界面,简化数据库对象的创建、维护和使用。
pgAdmin 可在 Linux、Unix、macOS 和 Windows 上使用来管理 PostgreSQL 和 EDB Advanced Server 11 及更高版本。

liunx下部署通过yum部署pgAdmin4(6.21)
当前最新版本8.0不支持通过 部署
1.安装依赖包
yum provides semanage
yum -y install policycoreutils-python.x86_64
2.永久停止防火墙
systemctl stop firwalld.service
systemctl disable firwalld.service
3.配置pgadmin4项目源
rpm -i https://ftp.postgresql.org/pub/pgadmin/pgadmin4/yum/pgadmin4-redhat-repo-2-1.noarch.rpm
4.下载并安装pgAdmin4
作为服务器使用我们只需要安装web端就好
yum install -y pgadmin4-web
官网提供一下安装方式
To install pgAdmin, run one of the following commands:
Install for both desktop and web modes. #安装桌面版和web版本
sudo yum install pgadmin4
Install for desktop mode only. #安装桌面版
sudo yum install pgadmin4-desktop
Install for web mode only.
sudo yum install pgadmin4-web #安装web版本
5.执行初始化命令
/usr/pgadmin4/bin/setup-web.sh
[root@pgAdmin web]# /usr/pgadmin4/bin/setup-web.sh
Setting up pgAdmin 4 in web mode on a Redhat based platform...
Creating configuration database...
NOTE: Configuring authentication for SERVER mode.
Enter the email address and password to use for the initial pgAdmin user account:
Email address:
The email address is not valid. It must have exactly one @-sign.
Invalid email address. Please try again.
Email address: circle-dba.qq.com
The email address is not valid. It must have exactly one @-sign.
Invalid email address. Please try again.
Email address: circle-dba@qq.com
Password:
Retype password:
pgAdmin 4 - Application Initialisation
======================================
Creating storage and log directories...
Configuring SELinux...
setsebool:  SELinux is disabled.
setsebool:  SELinux is disabled
The Apache web server is running and must be restarted for the pgAdmin 4 installation to complete. Continue (y/n)? y
Apache successfully restarted. You can now start using pgAdmin 4 in web mode at http://127.0.0.1/pgadmin4
[root@pgAdmin web]#
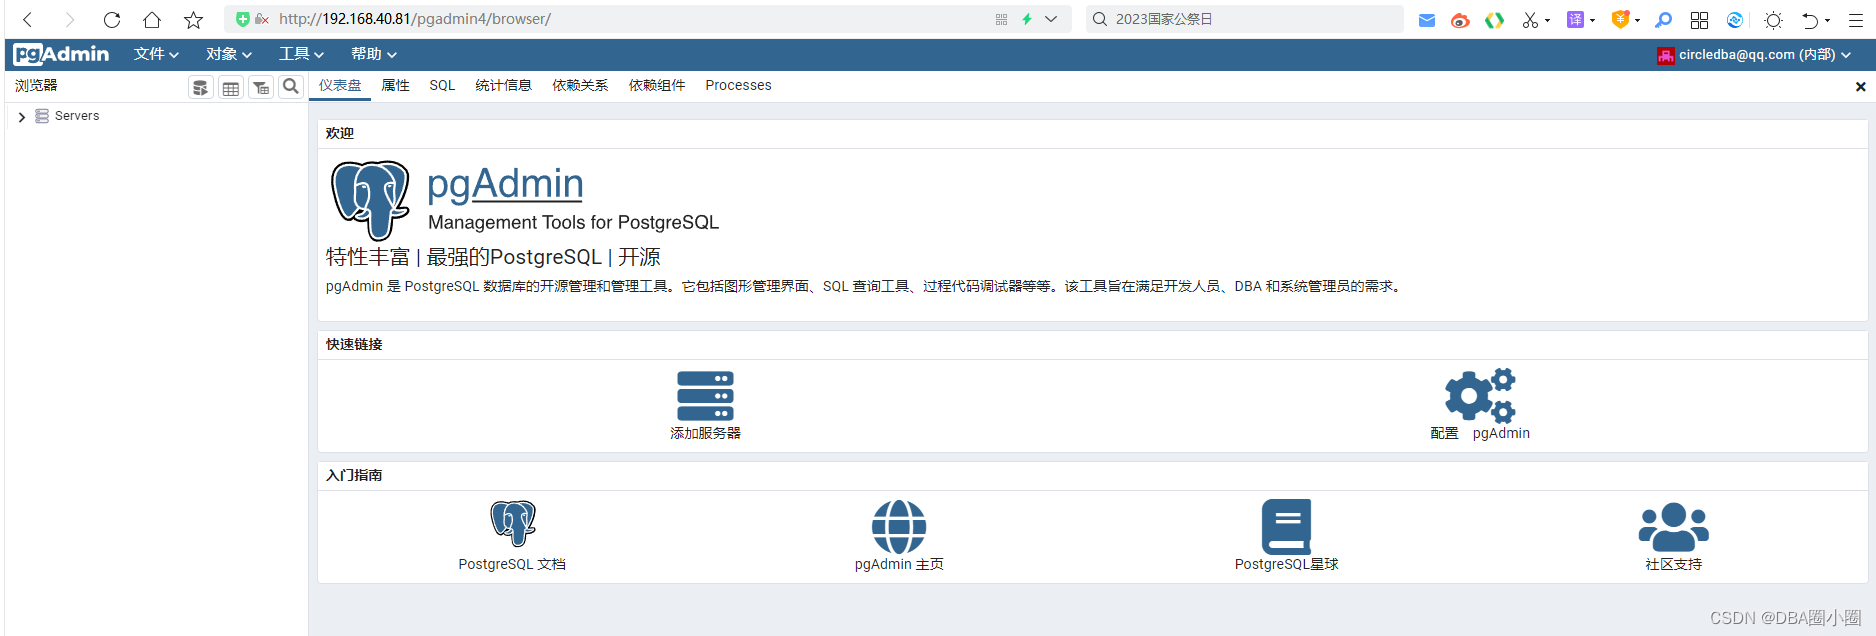
6.访问我们的网站

liunx下通过python方式安装pgAdmin4(8.0)
1.安装python3以及pip3(版本3.8及以上不能运行,建议安装3.6.15)
见文章 【centos7】安装python3 pip3
2.安装依赖包
yum provides semanage
yum -y install policycoreutils-python.x86_64
3.永久关闭SELinux
vi /etc/selinux/config
##找到以下行:
SELINUX=enforcing
##将其改为:
SELINUX=disabled
保存并关闭文件。
重新启动系统以使更改生效。
4.永久停止防火墙
systemctl stop firwalld.service
systemctl disable firwalld.service
5. 创建使用的目录
 mkdir /var/lib/pgadmin
 mkdir /var/log/pgadmin
6. 执行安装
python3 -m venv pgadmin4
source pgadmin4/bin/activate
pip install pgadmin4
7.修改配置文件
vi /root/pgadmin4/lib/python3.6/site-packages/pgadmin4/config.py
#找到
DEFAULT_SERVER = '127.0.0.1'
#修改为
DEFAULT_SERVER = '0.0.0.0'
8.执行初始化
pgadmin4
直到出现
NOTE: Configuring authentication for SERVER mode.
Enter the email address and password to use for the initial pgAdmin user account:
Email address: user@domain.com
Password:
Retype password:
Starting pgAdmin 4. Please navigate to http://0.0.0.0:5050 in your browser.
 * Serving Flask app "pgadmin" (lazy loading)
 * Environment: production
   WARNING: Do not use the development server in a production environment.
   Use a production WSGI server instead.
 * Debug mode: off
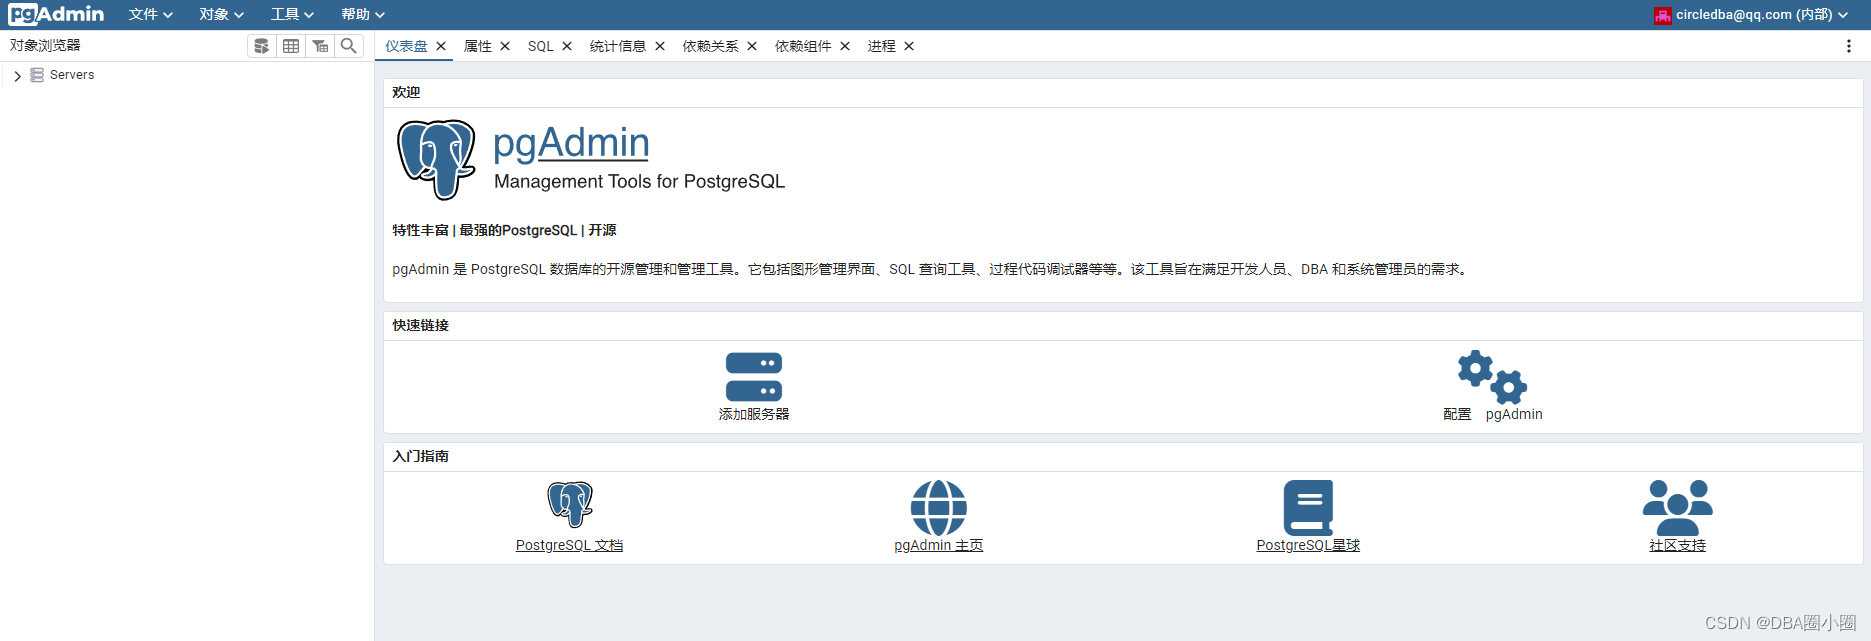
9.访问pgAdmin4

Liunx下通过docker 部署pgAdmin4
1.下载镜像
docker pull dpage/pgadmin4
2.启动镜像映射到5050端口
docker run -p 5050:80 \
    -e 'PGADMIN_DEFAULT_EMAIL=circledba@qq.com' \
    -e 'PGADMIN_DEFAULT_PASSWORD=123456' \
    -d dpage/pgadmin4
3.访问pgAdmin4

上一篇:【MySQL】事务


